In this lab, we will use HTML to build our own web page.
A web page is a document that contains mark-up that allows it to be displayed graphically by a web browser. The page may contain hyperlinks to link to related web pages. A web server is a computer on the Internet with the task of storing web pages and responding to clients� requests for them. The World Wide Web (WWW) is the web servers and the files they store.
In this lab, we will create our own HTML page. To do that, we need a text editor. There are many editors to chose from available on the computers. All Windows machines come with Notepad and Wordpad. These editors are very simple and easy to learn, but they do not have advanced features that make it easy to develop web pages. Other editors perform color highlighting which makes it very easy to see the components of your HTML document. In class, we used Brackets. I also refered to other editors like Microsoft Expressions Web 4. Commercial editors not on our system include Microsoft FrontPage and Adobe Dreamweaver.
You can use any HTML editor for this lab.
However, the lab material is demonstrated using Aptana and Brackets.
You can either use Aptana or Brackets and literally follow the instructions below,
or you can use your favourite HTML editor and adapt the below
instructions to work with your chosen editor.
This lab is demonstrated using Aptana Studio 3.0 and Brackets 1.13. Aptana Studio allows us to write HTML documents, preview them, and save them. Brackets is very similar except there is no built in previewer and no automated template building, however, it's slightly easier to use than Aptana. They both also have many nice features for web editing. You may use other editors, but we will describe Aptana Studio 3.0 and Brackets 1.13 in the lab.
You only need to follow ONE of the two tutorials, Aptana or Brackets
TASK: Open Aptana Studio 3.0 by searching for it in the start menu, and creating a new file.
The first time you open Aptana, it may ask you to choose a default workspace. If it does, then be sure to select the lab 3 folder in your student F: drive.
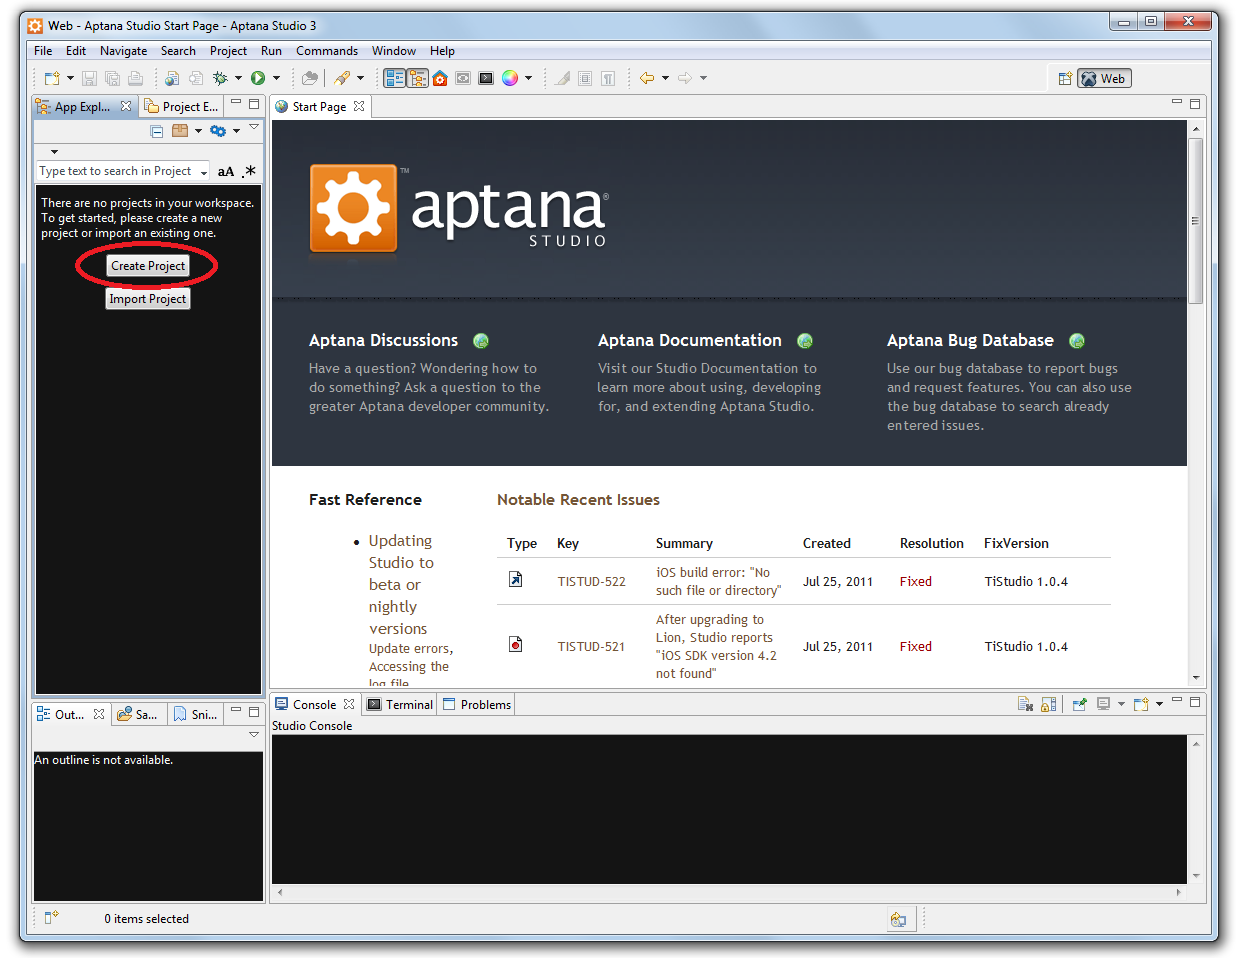
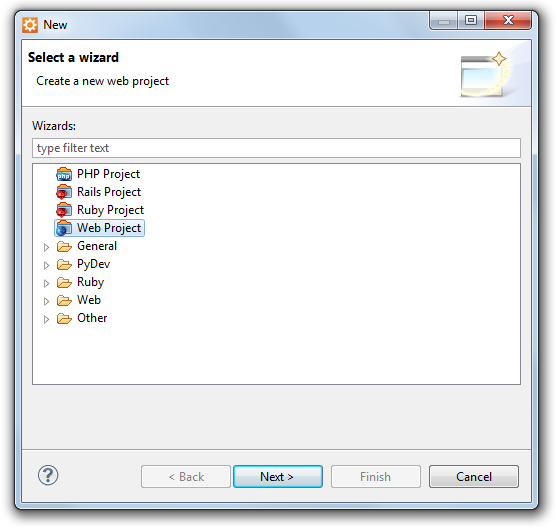
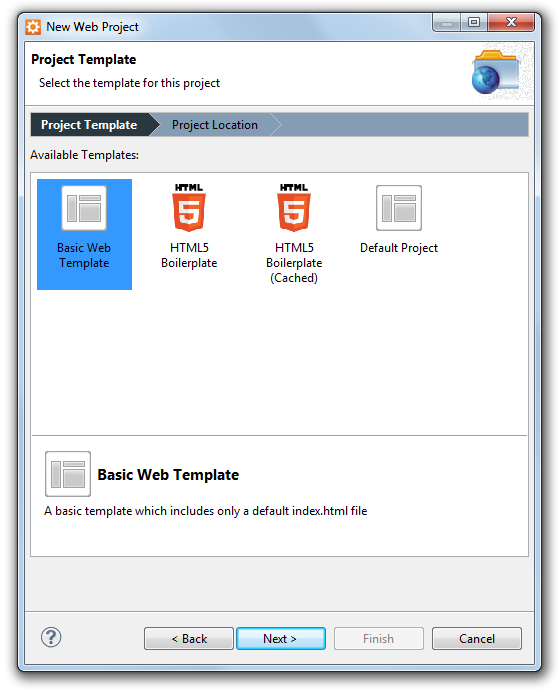
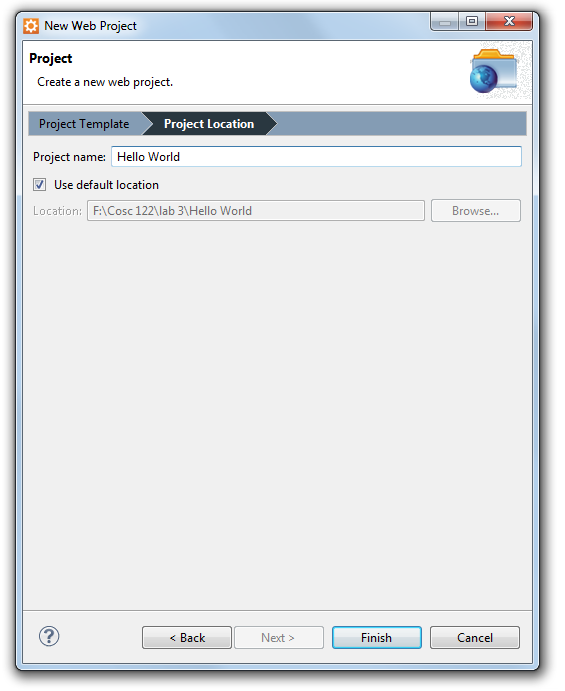
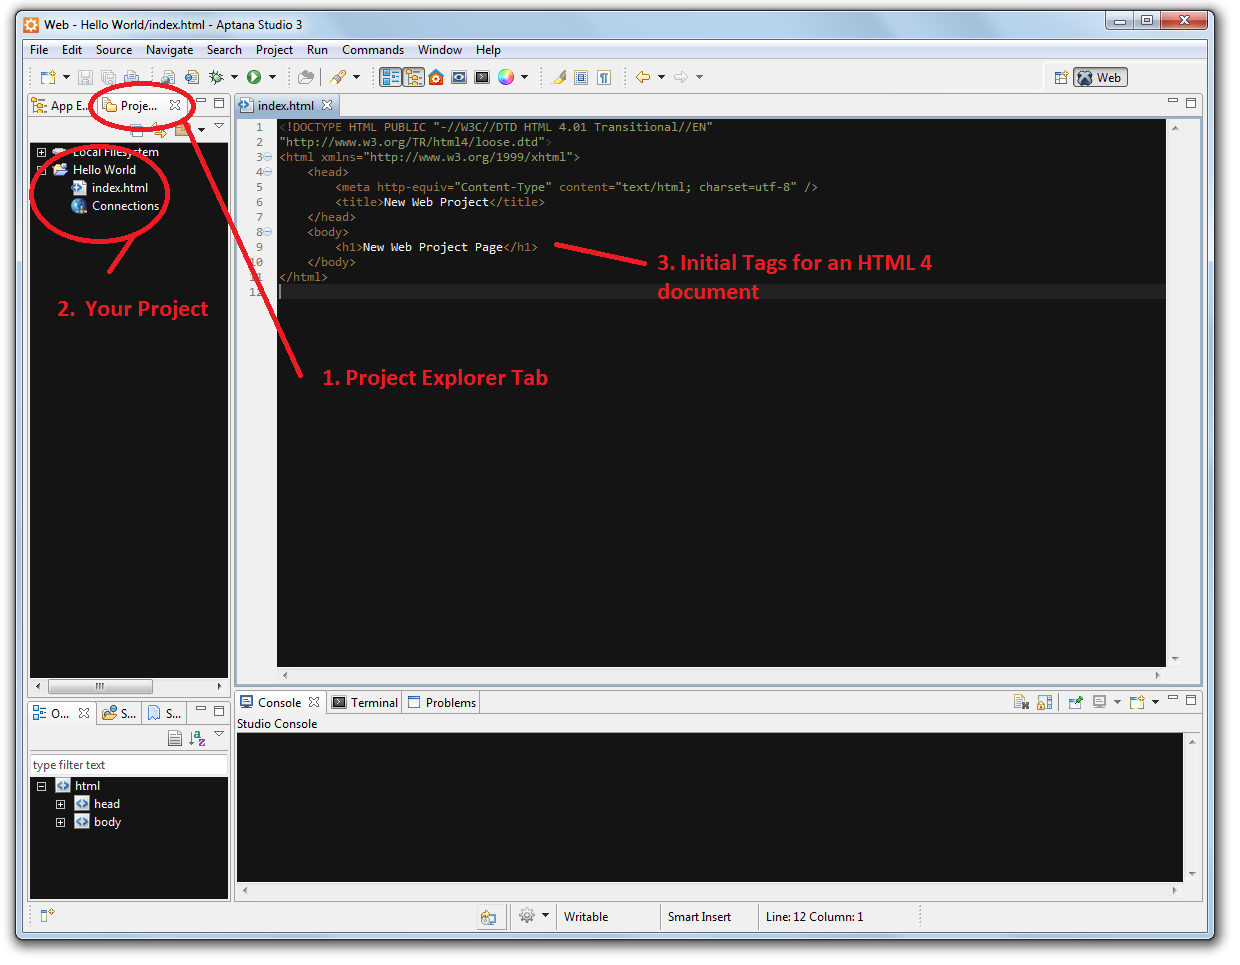
You should see a folder called "Hello World" and when you open it a file called "index.html". Aptana has already filled in some initial tags to setup an HTML 4 document. However, we want to make an HTML 5 document.
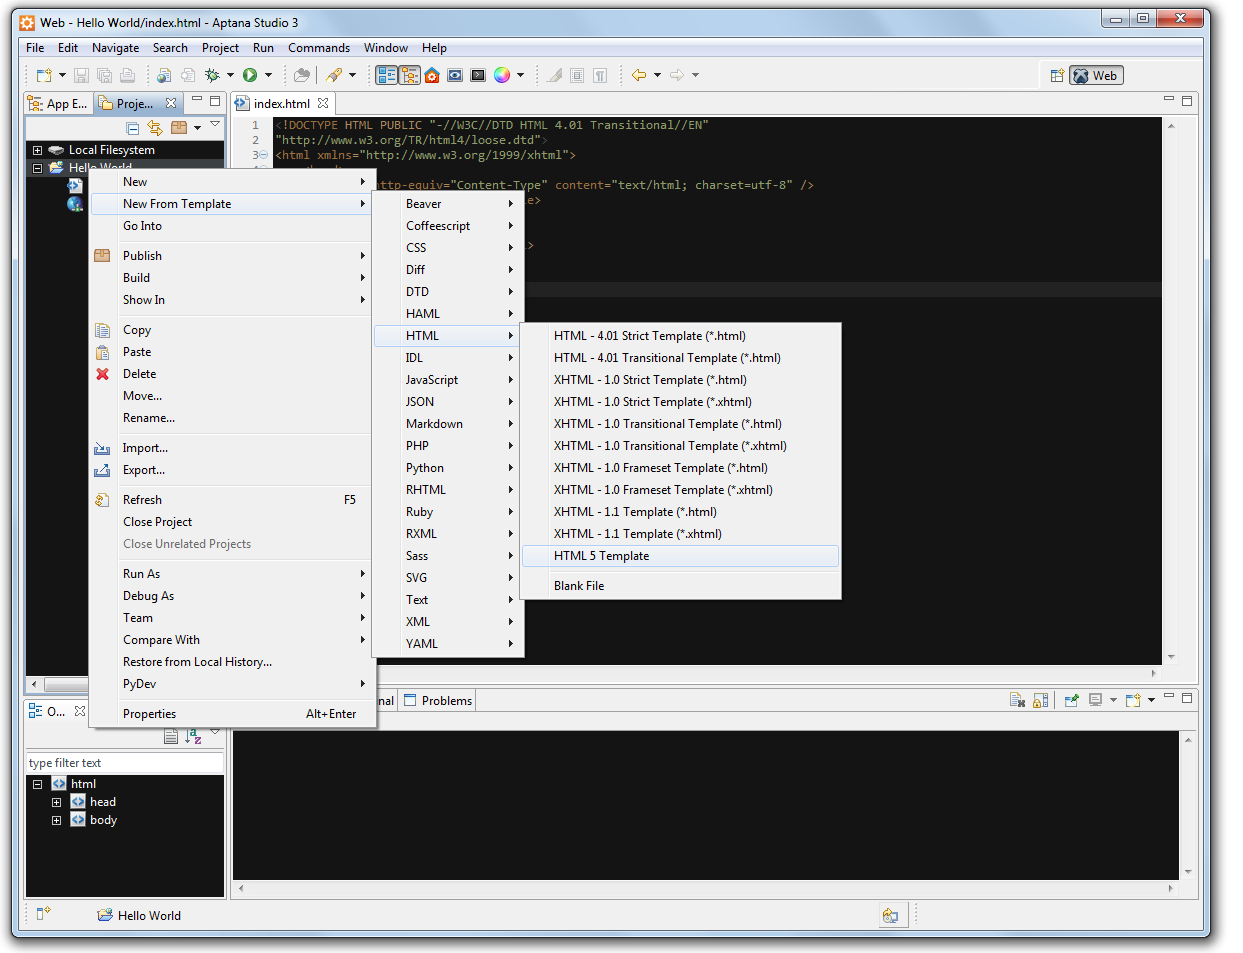
Right click on your "Hello World" project and select "New From Template>HTML>HTML 5 Template". Name it "HelloWorld.html" and select finish. You can now delete the HTML 4 document "index.html".
Notice: This tutorial assumes that Brackets 1.13 is already installed on your machine.
TASK: Open Brackets 1.13 by searching for it in the start menu, and creating a new file.
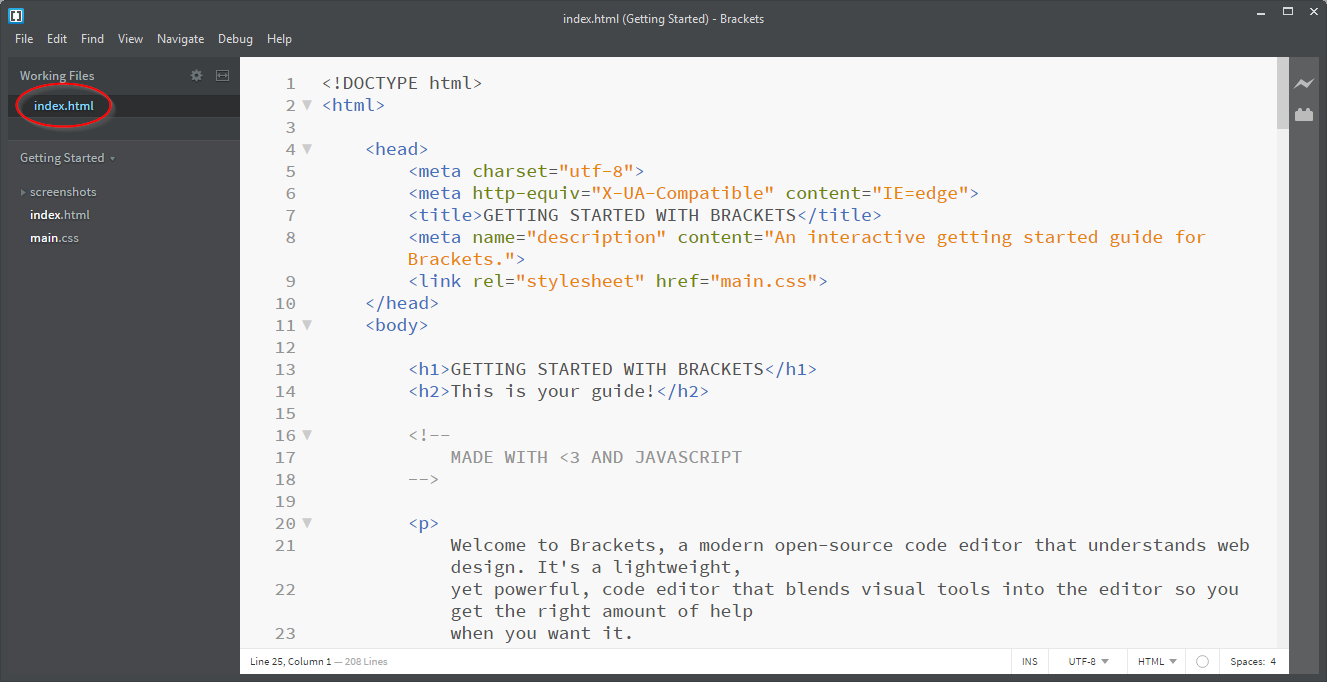
The first time you open Brackets, you will see the sample Brackets index file in the Getting Started folder. You can close it by hovering over index.html in the Working Files menu and selecting the x on the left.
Unlike Aptana, Brackets is basically a text editor, therefore, it does not have a project creation menu or web templates. When using Brackets you will need to make a project folder manually. Create a new folder somewhere on your system and name it Hello World.
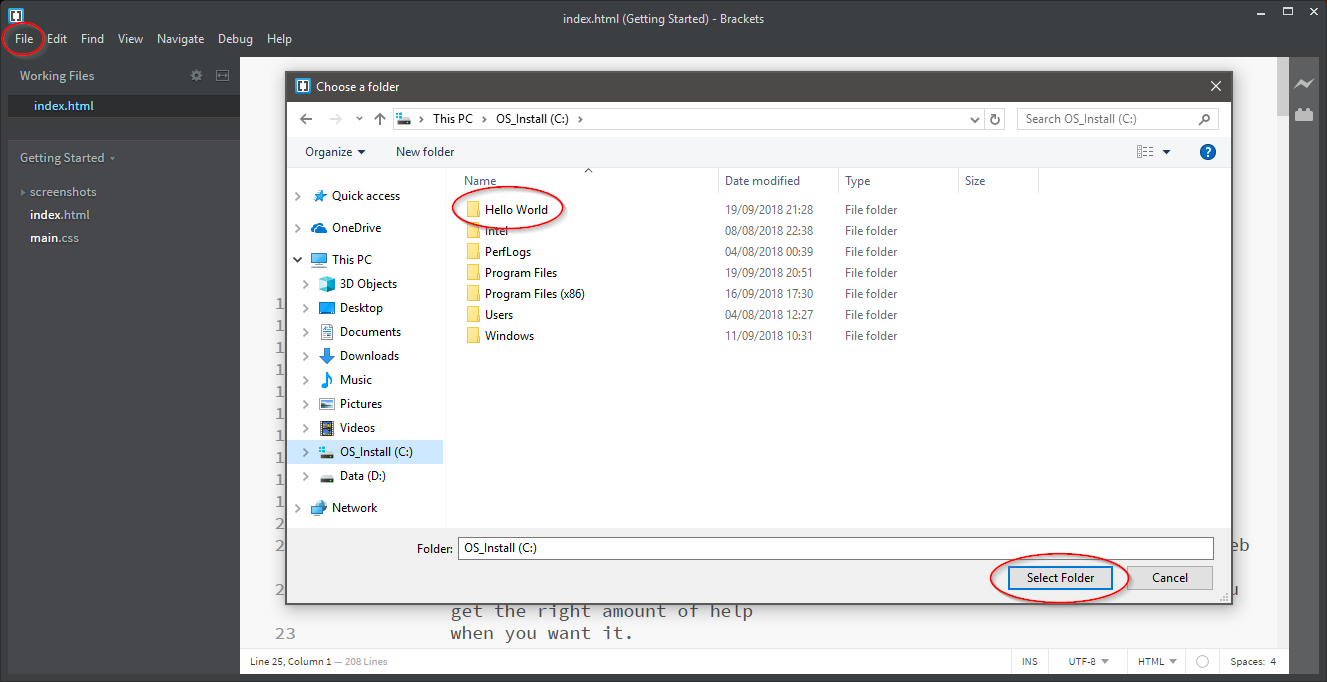
Once you have created a folder for your project, return to Brackets and select File, Open Folder. Find your Hello World project folder and click Select Folder.
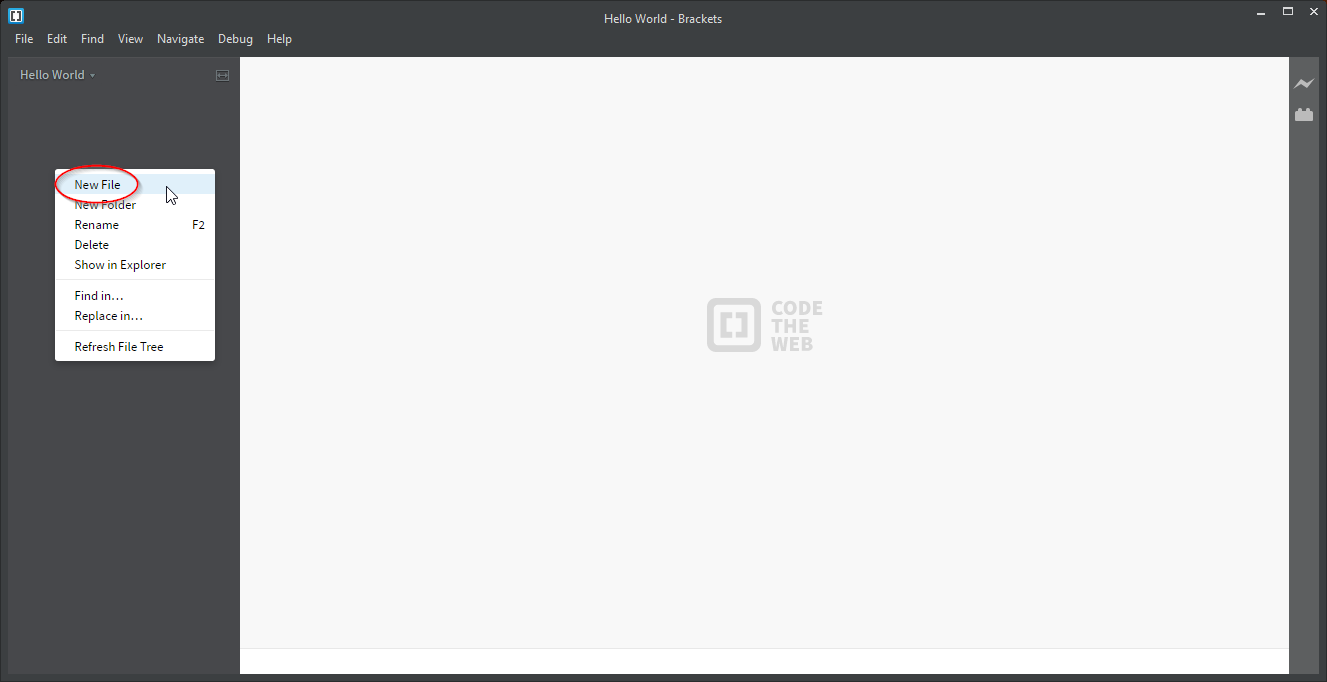
Right click in the navigation window on the left and select New File.
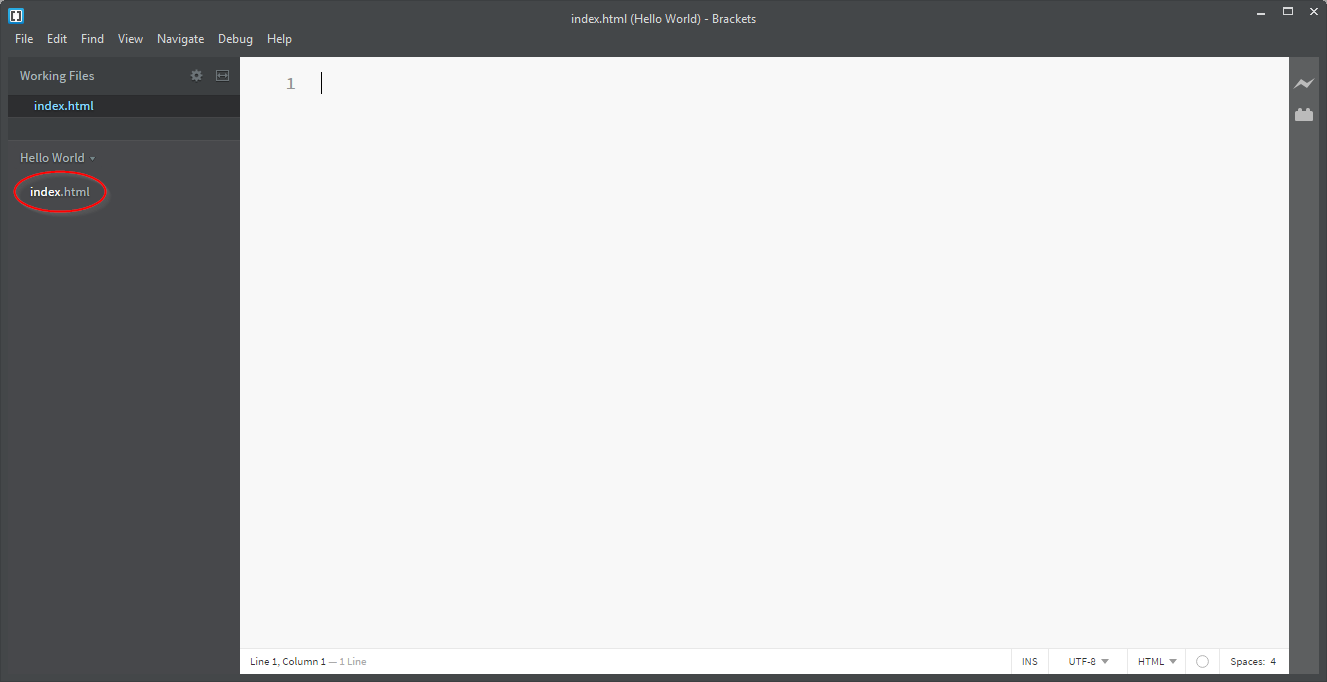
Name the new file index.html. It is important to include the html extension, otherwise it will not create an actual HTML file and you will not be able to view it in your browser.
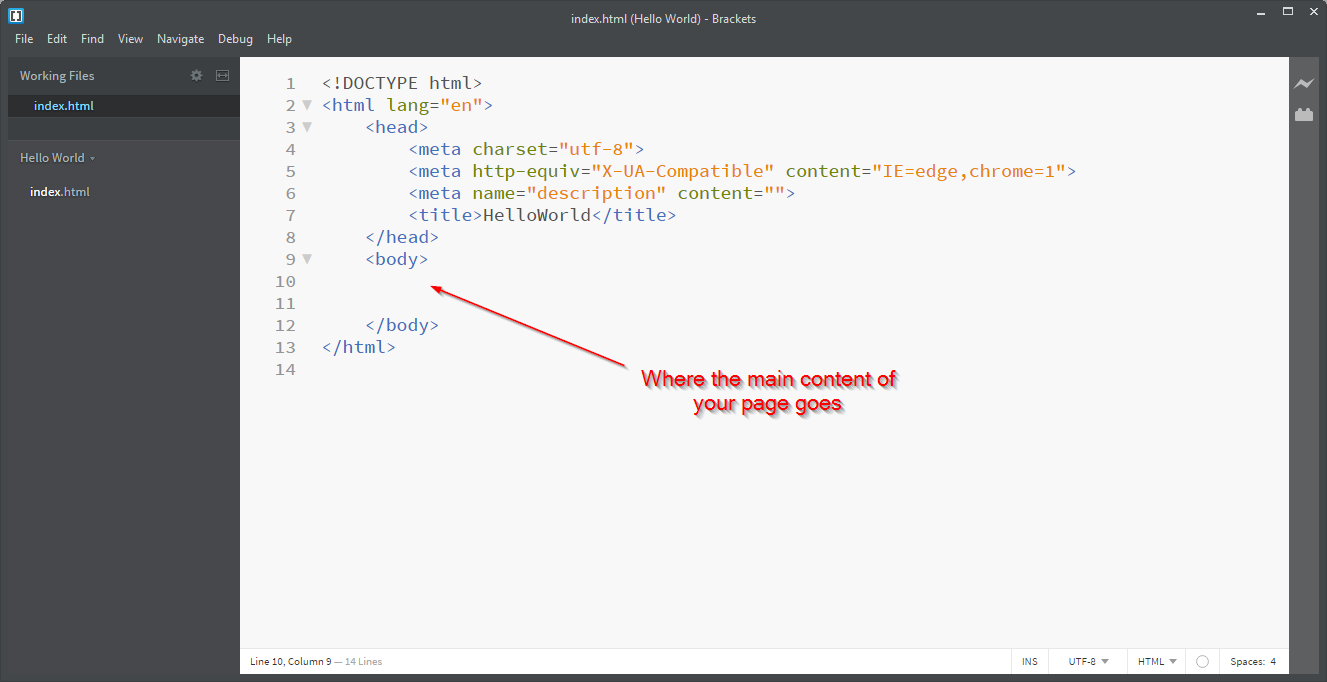
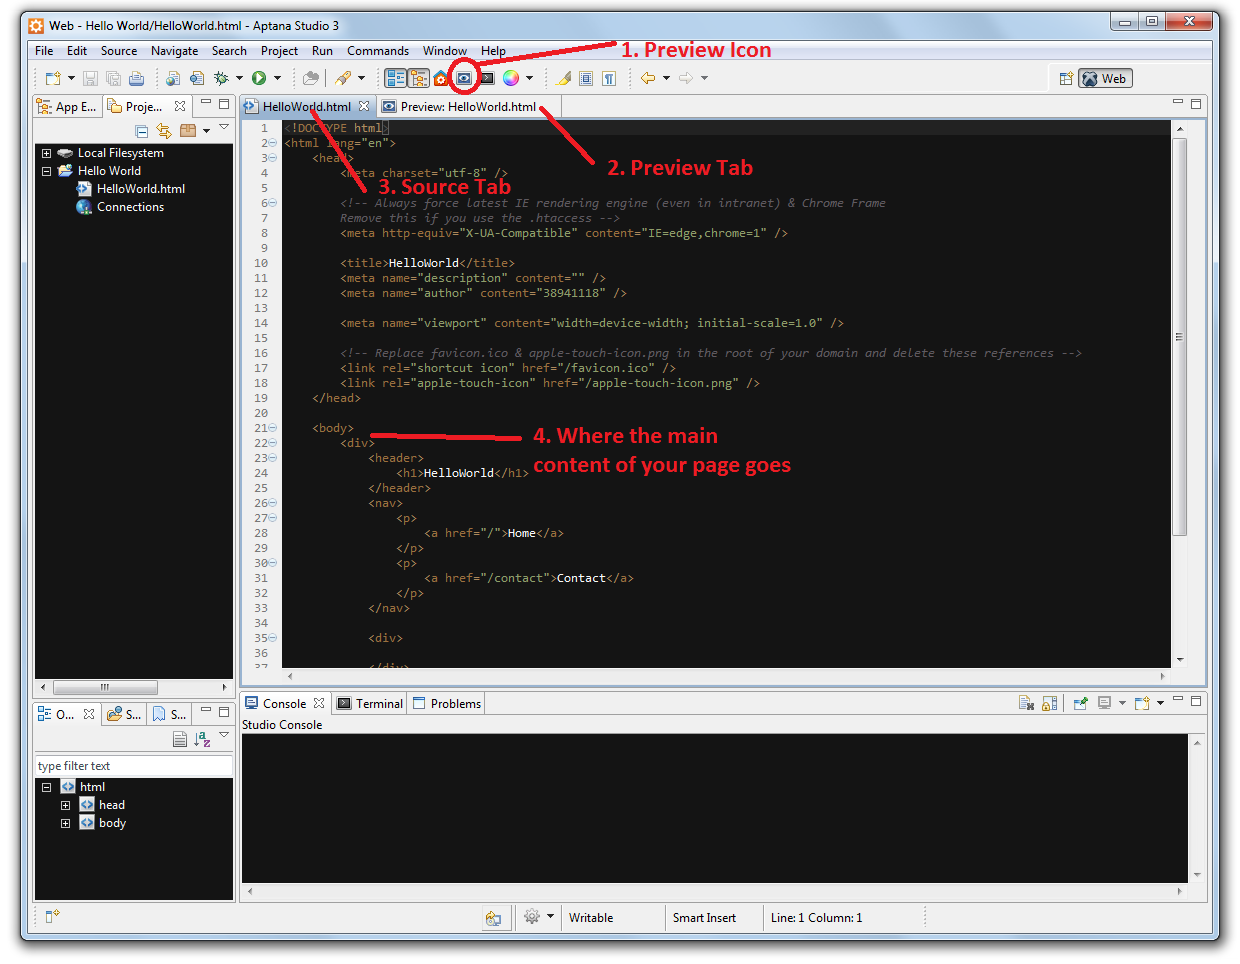
In Aptana, you will see an eye icon at the top of this page. Click this icon to bring up a Preview tab to see what your document would look like in a browser. You can also view your document in Firefox, Chrome or IE by double-clicking on the file. Click on the HelloWorld.html tab to continue editing your HTML file. When you are in this tab, you can type HTML tags and content for your document. By telling the software that you were writing an HTML 5 document in the previous step, it has already filled in some initial required tags, and some basic content. You can click your mouse in this text area and perform edits.
In Brackets, there is no preview option, therefore, to veiw your web page, find your index.html file in windows explorer and double click it. This will open the web page in your default browser.
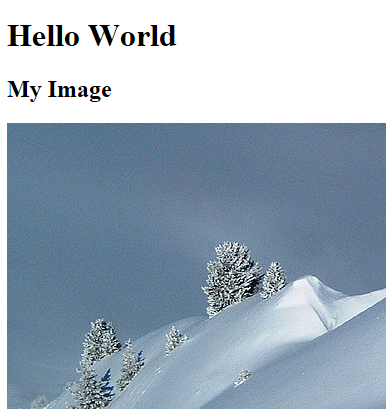
TASK: Create a HTML document with a title and text that displays Hello World!
An image for your web page should be saved in the same directory as your HTML file. (Actually, you can store it in other directories, but for convenience we will put it in the same directory for this lab.) If you have an image of your own, save it into the lab3 directory. Otherwise, you can "borrow" an image from the Internet by finding a web page, right-clicking on an image, and selecting Save Picture As. Then put the image in your lab3 directory. The img tag to display a picture with file name MyPicture.jpg is:
<img src="MyPicture.jpg">
TASK: Save an image into your lab3 directory and put it into your HelloWorld.html document.
Once you have an image, add the img HTML tag to put the image in your HelloWorld.html document. An example is below.
Hyperlinks allow your web page to link to other web pages on your site and other sites. Use the a tag for hyperlinks. The href attribute of the a tag contains the URL to go to when the user clicks on the link. For example, a hyperlink to go to Yahoo would be:
<a href="http://www.yahoo.com">Yahoo!"</a>
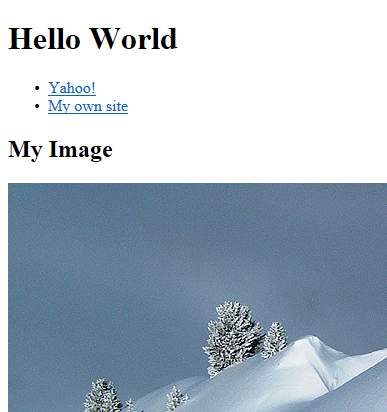
A list can either be a numbered list (ol tag) or a bulleted list (ul tag). Inside the list, for each item put it in a li tag. Here is an example to produce the list below with the two hyperlinks:
<ul>
	<li><a href="http://www.yahoo.com">Yahoo!</a></li>
	<li><a href="http://people.ok.ubc.ca/abdalmoh/">My own site</a></li>
</ul>
TASK: Add a list to HelloWorld.html. Each list element should have a hyperlink. Save your file.
A table in HTML is created using the table tag. Each row begins and ends with a tr tag. Each cell begins and ends with a td tag. The th tag will create a cell that is bold and centered. Below is an example of a table with 4 rows and 3 columns with the first column in bold.
| Name | Age | Weight |
|---|---|---|
| Joe | 18 | 180 |
| Steve | 22 | 250 |
| Fred | 24 | 200 |
| Bryan | 26 | 140 |
<table border="1">
	<tr><th>Name</th> 	<th>Age</th> 	<th>Weight</th></tr>
	<tr><td>Joe</td> 	<td>18</td> 	<td>180</td></tr>
	<tr><td>Steve</td> 	<td>22</td> 	<td>250</td></tr>
	<tr><td>Fred</td> 	<td>24</td> 	<td>200</td></tr>
	<tr><td>Bryan</td> 	<td>26</td> 	<td>140</td></tr>
</table>
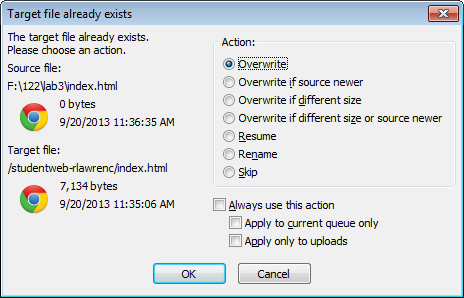
A web browser can display an HTML file wherever it is stored. The HTML file can be transferred from a server or be on your computer as a file (which we are using). For this assignment, we will upload our HTML file to a web server in addition to submitting it to the TA using Canvas. To upload our files to the web server, we will use a program called FileZilla.
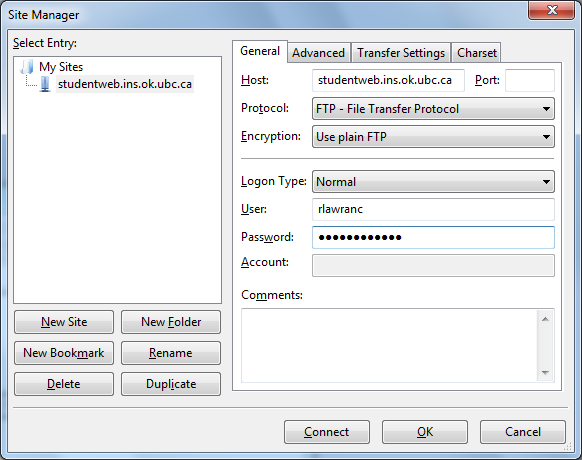
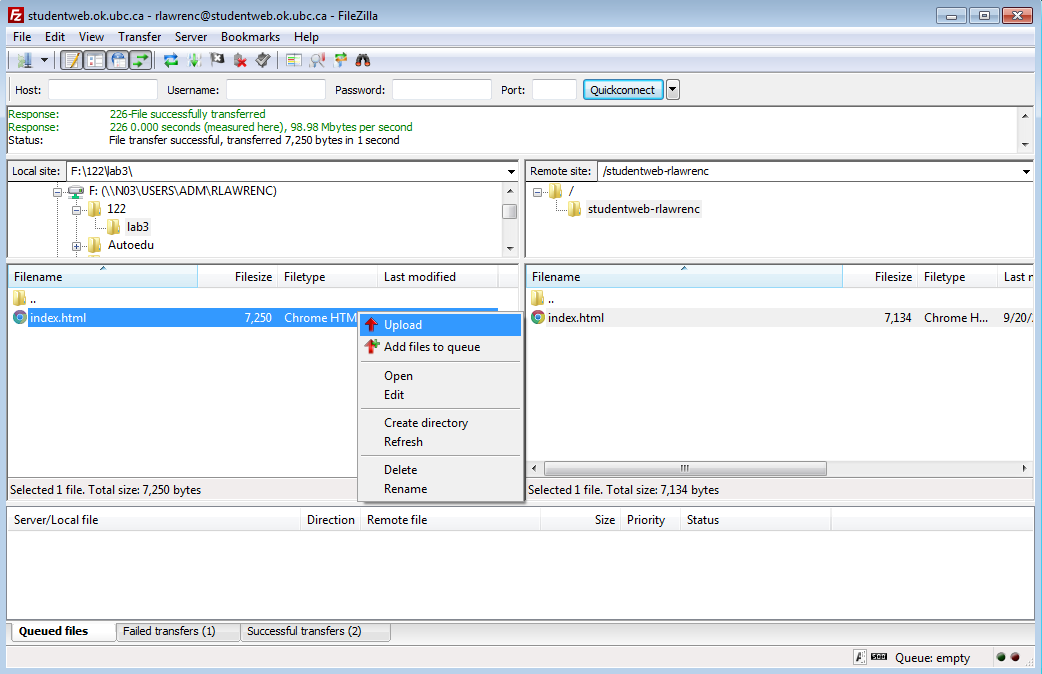
Open FileZilla. Under the File menu, select Site Manager. Click on the New Site button. This will allow you to enter the information for your site (see image below). The server name is studentweb.ins.ok.ubc.ca, your user id is your Novell id, and your password is the same password as your Novell account. Once you have logged in, you can transfer files from your current machine to the server using drag and drop or right-clicking on the file and selecting Upload from the pop-up menu.
Optional: there are more detailed instructions on studentweb.ins.ok.ubc.ca but you don't have to read them unless you are stuck or confused about how to access that server.
Note that your web site will be http://studentweb.ins.ok.ubc.ca/YourStudentNumber/YourFile.html.
For this lab assignment, submit using Canvas your own personal page. The page can be about yourself or on any topic you want. Name your page as index.html. It must be a different page than the HelloWorld.html we created while learning the topics in the lab. Although you can look at other web sites for ideas, do not borrow HTML code from other sites. Submit the web page and all associated image files in a single zip file. Your web page must have at minimum these components:
In addition to the basic marks, there will be up to 10 bonus marks awarded for the best web page (voted on by the TAs and professor). The best page gets +10 marks, 2nd best +9 marks, 3rd best +8 marks, ... and the 10th best +1 mark.